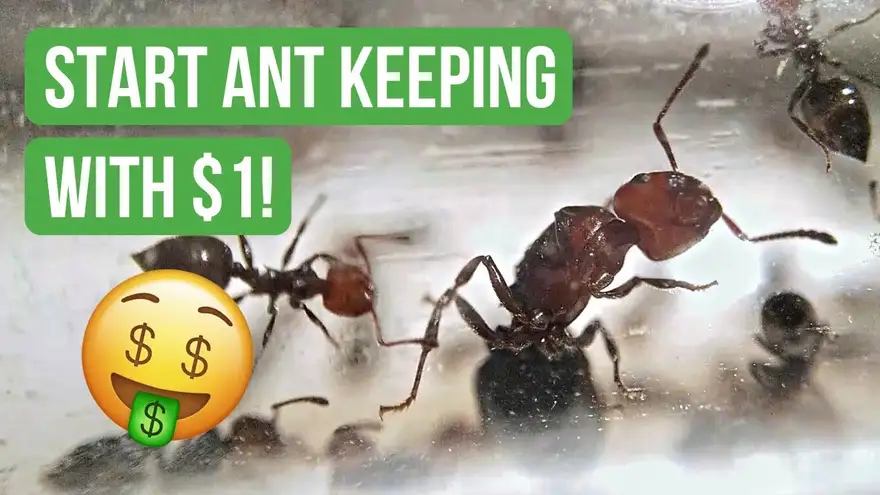
How To Start Ant Keeping With Less Than $1
Hi guys! I hope you’re doing well!
Today we’re going to learn how you can start the amazing and underrated hobby of ant keeping with a total investment of less than $1!
Let’s get into it!
Introduction
So you want to join the ant keeping community and become an ant keeper, but don’t want to spend a lot of money on it? You have found the right guide!
Compared to all the other hobbies out there, ant keeping could definitely be one of the cheapest!
Obviously, just like with all other hobbies, you can also buy very expensive equipment and setups in order to have the best possible experience.
But the key difference with this hobby is that, if you want, you have the option of starting with almost no initial investment!
Before we start with the tutorial, I would strongly suggest you take a look at this other beginner guide! Here I list 5 of the most common mistakes that beginner ant keepers make when they first start keeping ants as pets!
Now let’s see how you can start this hobby with less than $1!
Finding a Queen Ant
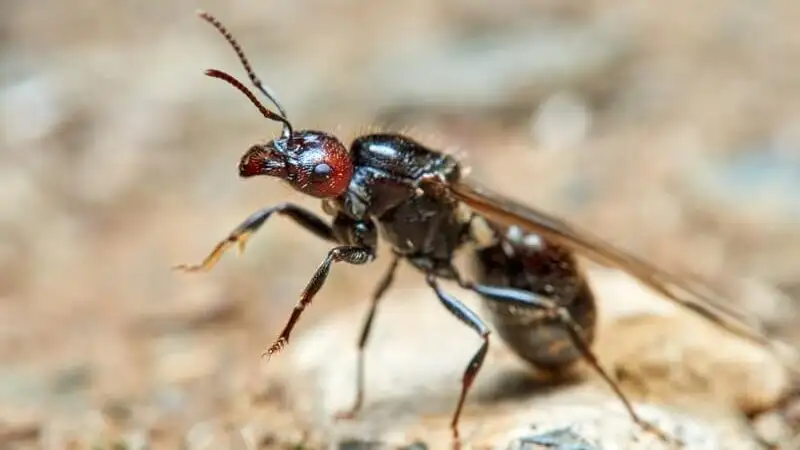
As you can imagine, the first thing we need to start our own journey in this unusual and underrated hobby called ant keeping is a queen ant. Every ant colony starts from a newly mated queen ant, and your main goal right now is to find one.
Basically, all you need to find a queen ant is patience. A lot of it!
Finding a queen ant can be a very time-consuming activity! That’s because the only time you can find a queen ant wandering around in your backyard is during a so-called nuptial flight.
A nuptial flight is the phase of the year in which the queen ants exit their nests and start flying in search of males from other colonies.
During this phase, you can usually find many queen ants walking on the driveway or hanging on the walls of the house heated by the sun.
If you don’t want to walk up and down the driveway in search of a queen that has just mated with a male, you also have the option of buying one online.
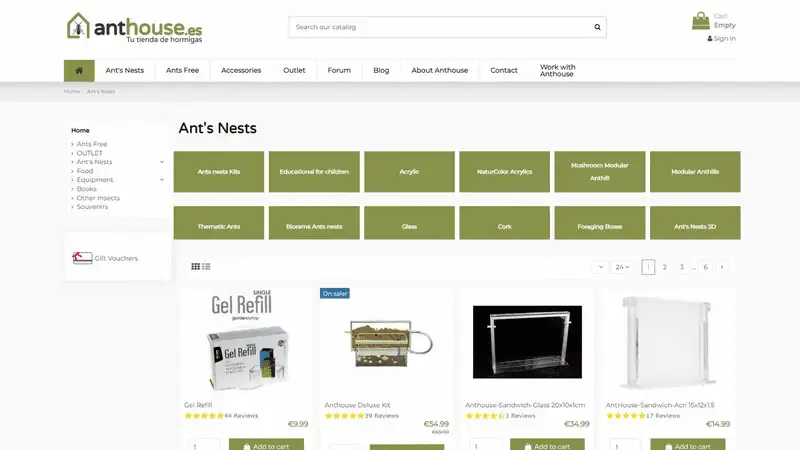
Nowadays, there are tons of online shops fully dedicated to selling everything related to this relatively new hobby: ant nests, ant food, and even the ants themselves!
But the goal of this guide is to teach you how to start ant keeping with less than $1, so for us, this option is off the table.
The Test Tube
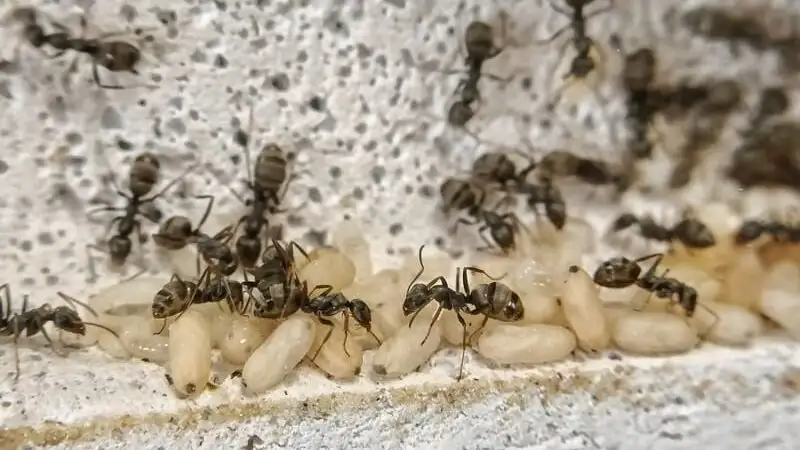
Once we have our queen ant, the next step is to place her in a comfortable environment where she can slowly start building her ant empire.

In the wild, after mating with a male, the queen starts searching for a small and quiet space, probably in the soil, where she can start to lay eggs. This tiny space is called the “claustral chamber.”
Our goal is to recreate that type of environment in the best possible way and accurately replicate the conditions of a claustral chamber. The most effective way to do that is with the so-called test tube setup.
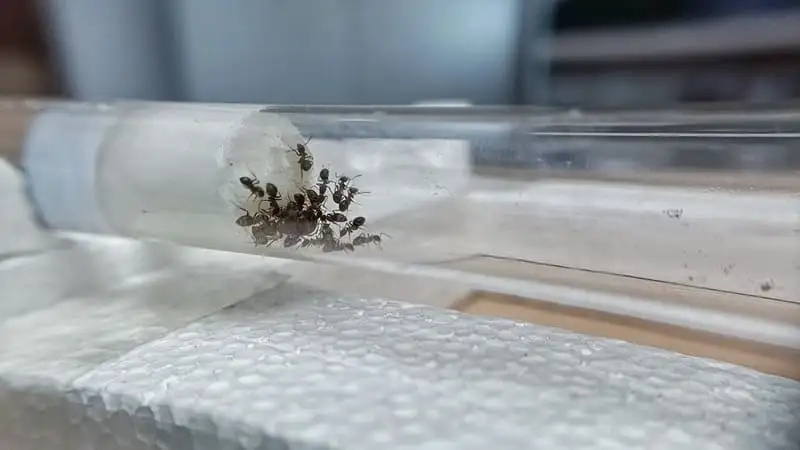
With this type of setup, we’re going to recreate the main aspects of a claustral chamber, including humidity level, temperature, and light.
Preparing The Test Tube Setup
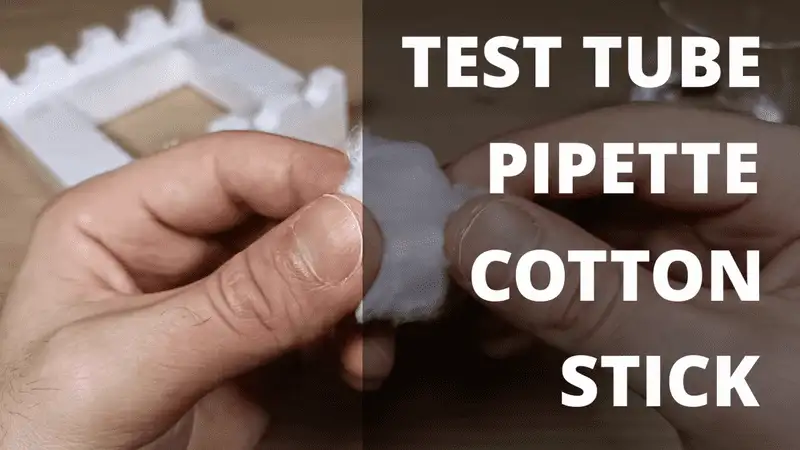
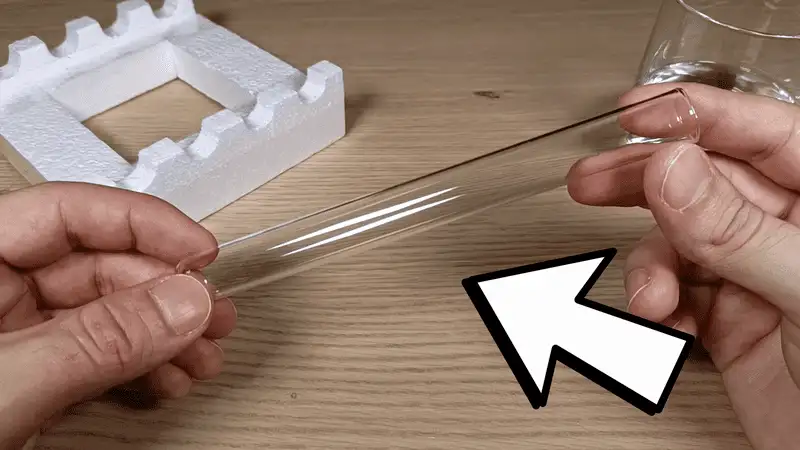
For the test tube setup, we’re going to need a test tube, a pipette, some cotton, and some type of long stick.
You can easily find the test tube online at one of the many ant keeping online shops. There, you will probably find a lot of different types of test tubes: some larger and some smaller, some longer and some shorter.
The test tubes usually come in various sizes. The main factor for deciding which size is right for you is the size of the queen you want to put in there. For most ant species, a standard-size test tube will do the trick.
Don’t worry if you don’t find the exact recommended size for your species; the queen is very adaptable and will surely lay eggs even in a slightly smaller or slightly larger chamber.
The test tubes are usually quite cheap, with prices ranging from 10 cents for the smaller ones to up to $2 for the largest and pre-prepared ones. I would suggest you choose one of the basic ones, which typically cost around 40 or 50 cents.
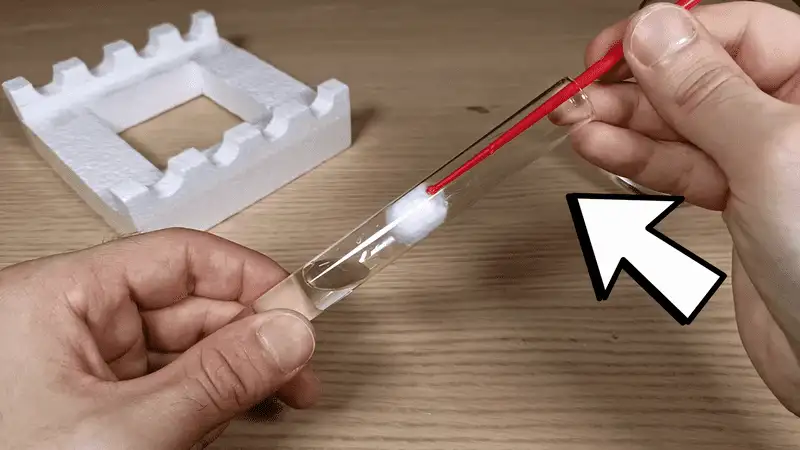
Once we have our test tube, it’s time to set it up. Doing that is very easy. All you need to do is fill half of the test tube with clean water, and then insert a little cotton ball all the way to the water using the long stick.
If you want to find out more about how to prepare this type of setup, I recommend you check out this detailed tutorial! In this one, I explain in detail everything you need to know to make the perfect test tube setup!
The Final Steps
When the test tube is ready, we can gently insert our queen ant into it. During this phase, it’s very important not to hurt her, as every little misstep can influence the long-term growth of the future colony!
When the queen is in, we can close the test tube with another piece of cotton. Now she’s comfortable and safe, ready to lay her first batch of eggs!
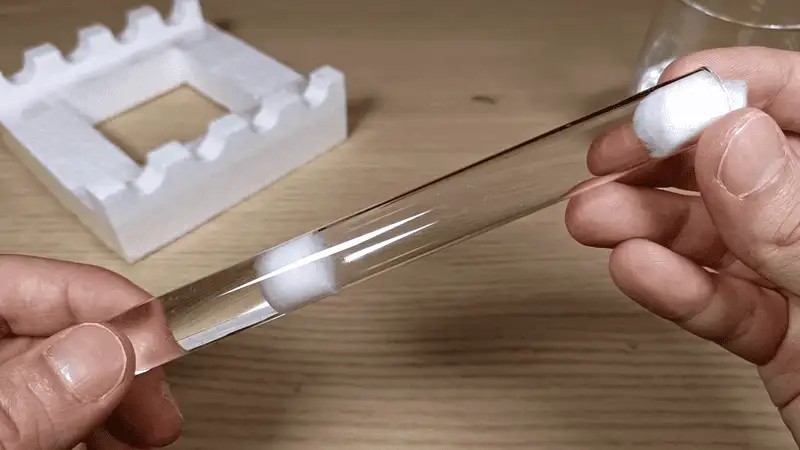
The last thing you have to do is put her in a dark and isolated spot in your house. The ideal place would be one where the queen can rest peacefully without constantly being disturbed by unwanted noises or vibrations.
If you want, you can also wrap the test tube with some type of dark paper. By doing this, you will create an even better environment for the queen, completely blocking light from entering the chamber.

I like to use tinfoil, as it is very easy to cut and gets the job done efficiently!
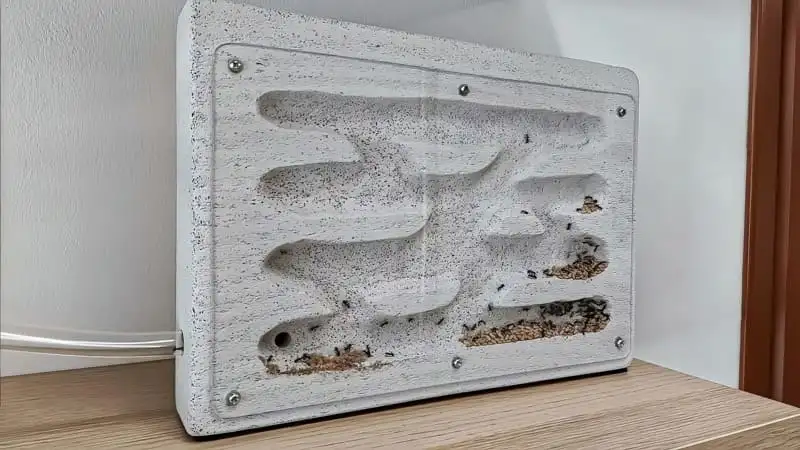
If you're planning on keeping multiple ant colonies and thus having lots of test tubes scattered around the house, I suggest you check out this other guide! In this one, I will teach you how to make a clever system to better organize and manage all of your test tubes!
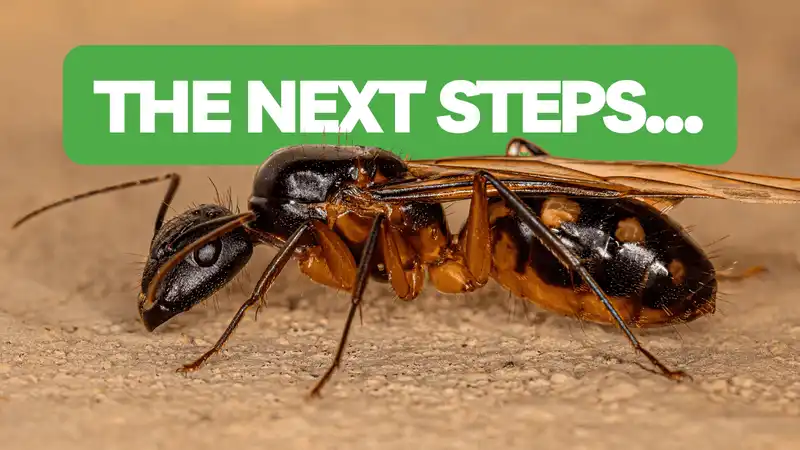
Congratulations! You’ve done it! You’ve just started ant keeping with less than $1! Now you’re in for a very long and awesome journey! I’m sure you will enjoy it a lot!
I hope you have found this guide helpful!
If you liked this tutorial and love making DIY projects, I would strongly suggest you check out this other tutorial! In this one, you will learn how to build a Ytong nest for your ant colony all by yourself!
FAQs
The first step is to find a queen ant, as every ant colony starts from a newly mated queen.
You can find a queen ant during her nuptial flight or you can purchase one online.
You will need a test tube, a pipette, cotton, and a long stick to create a comfortable environment for her.
Fill half of the test tube with clean water, insert a cotton ball, and then place the queen ant inside.
Yes, you can start ant keeping with an initial investment of less than $1 by utilizing inexpensive or free materials.

Author