Hi guys! I hope you’re doing well!
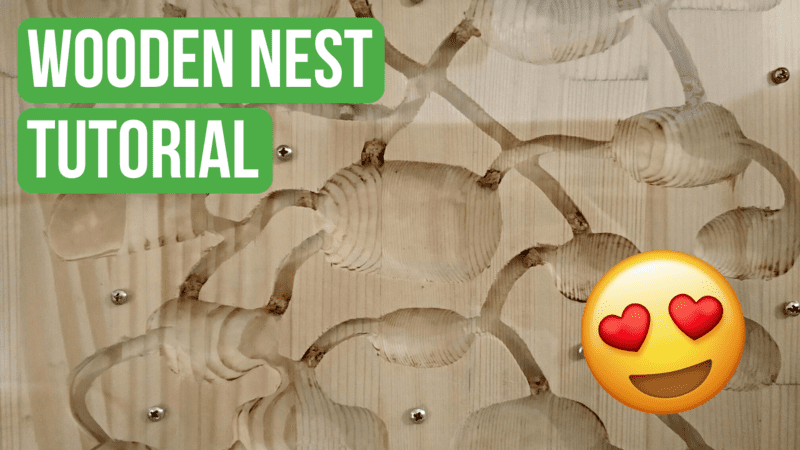
Today we’re going to learn how to make a wooden nest for your ant colony! By the end of the tutorial, you will have all the information you need to build one yourself!
Let’s get into it!
Why a Wooden Nest?
Around the world, there are more than 12.000 species of ants! That’s an outstanding number of species!
Some have giant heads, which they use to break seeds and eat the tasty part inside! Others have the ability to spray a particular type of acid to defend themself, and some are actual farmers, creating tiny farms of aphids, which they milk to get their extremely sweet honeydew!
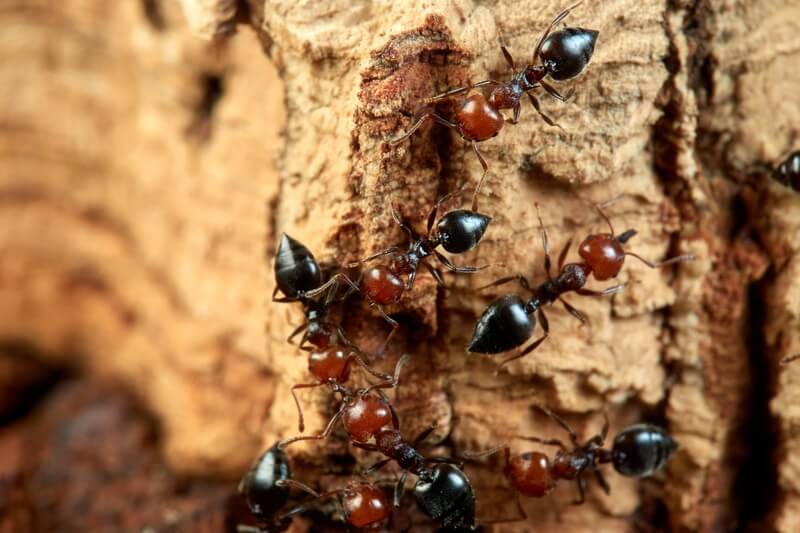
Some of these species really love nesting in wood! They usually excavate their nest in dead trees, in logs, or in a lot of man-made wooden structures! A very popular species that like to nest in wooden nests is Crematogaster scutellaris, the very cool ant with the heart-shaped abdomen in the picture above!
By giving the ants the nesting medium they prefer the most, you can be sure that the colony will grow big and healthy!
Let’s build our own wooden ant nest!
What You Need
For this project, we’re gonna need a wooden panel, a piece of transparent acrylic, some screws, and some basic tools.
The Wooden Panel
As you probably can imagine, the most important thing we need to make a wooden ant nest is a piece of wood. This wooden panel will become the main part of the nest, in which the ants will travel through the little passages.
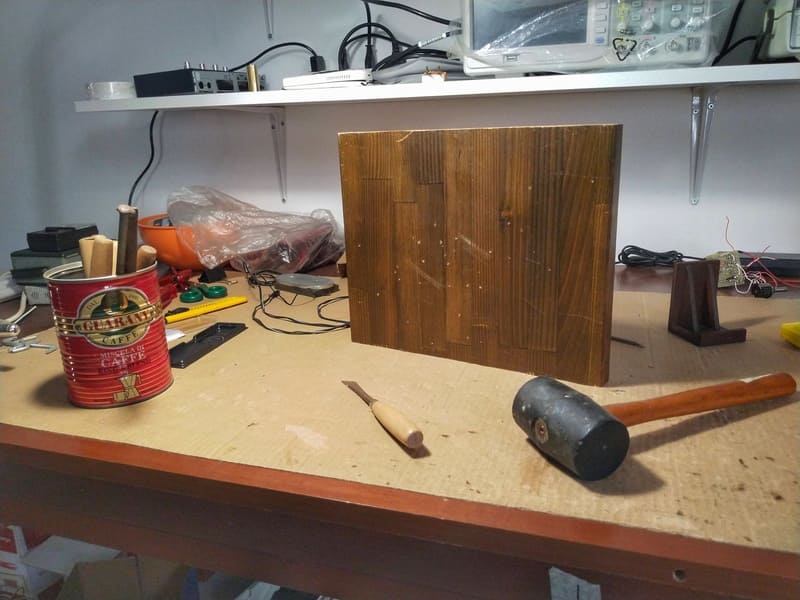
You can find this type of wooden panel in almost every hardware store. For this project, I will be using this piece of wood, derived from an old shelf I had laying around in the basement.
The first thing that we have to do is to decide the dimensions of the nest. This is completely up to you.
If you already have a large colony that you are planning to put in there, you should probably opt for a relatively large-sized nest. On the other hand, If you’re just starting out, you can choose a smaller size for this nest.
In my case, I’ve opted for a size of 25cm x 30cm.
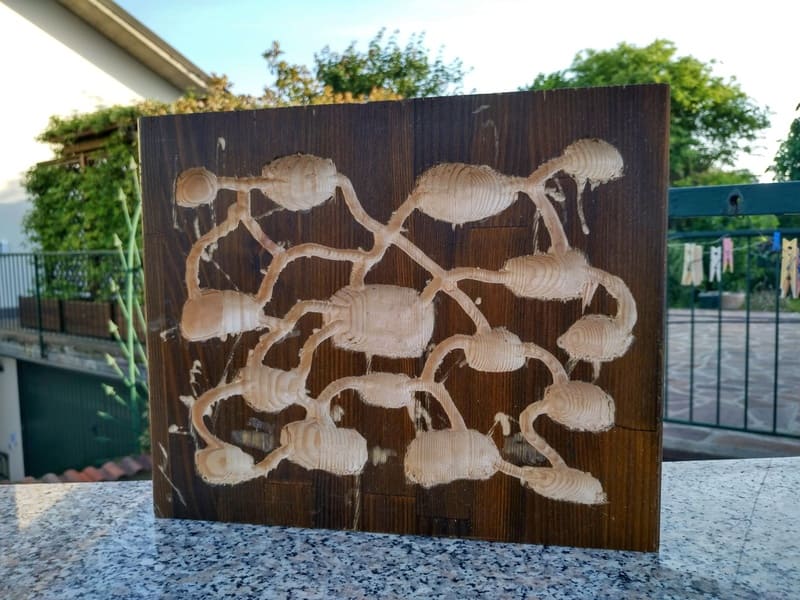
Drawing The Chambers
Now to the fun part! Once we have the piece with the right dimensions, we can then start drawing the shape of the chambers. In this step you can unleash all your creativity, creating the chambers of the nest how you like them best.
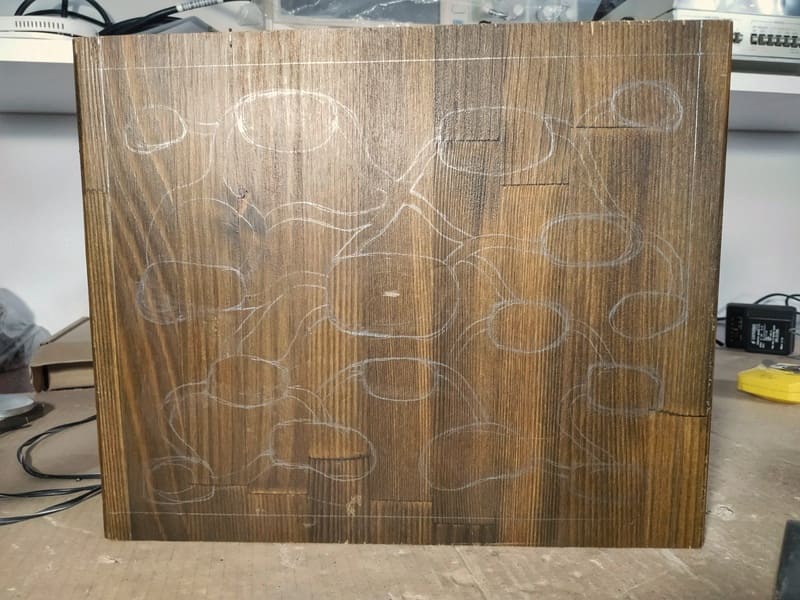
Make sure to use a pencil that leaves a strong mark on the wood, ‘cause in the next step we’re gonna need an easy-to-follow reference.
When drawing the shape of the nest, I would suggest you use a mix of large chambers and tight passages, in order to better replicate the natural shapes of these types of nests.
Engraving The Wooden Panel
In this step, we’re going to remove the excess material from the wooden panel, creating the various chambers and passages of the nest.

For this task you can simply use a Dremel, with the help of a special drill bid made specifically for engraving the wood. If the wood you are using for the nest is somewhat hard, this process could take some time.
By the way… If you, just like me, really like these kinds of D.I.Y. projects, I’m pretty sure you’re going to love this other guide too! In this one, I explain in detail how to make another very popular type of ant nest: a Ytong nest!
Sanding The Nest
After the engraving process is completed, we can start cleaning the nest with some sandpaper. With this type of sanding, we’re going to remove all the little imperfections caused by the engraving and the cutting phase.
In my case, the wooden panel has a thick layer of paint on it. For this reason, I’ve decided to clean all the surfaces of the nest, completely removing the paint layer and uncovering the natural color of the wooden panel.
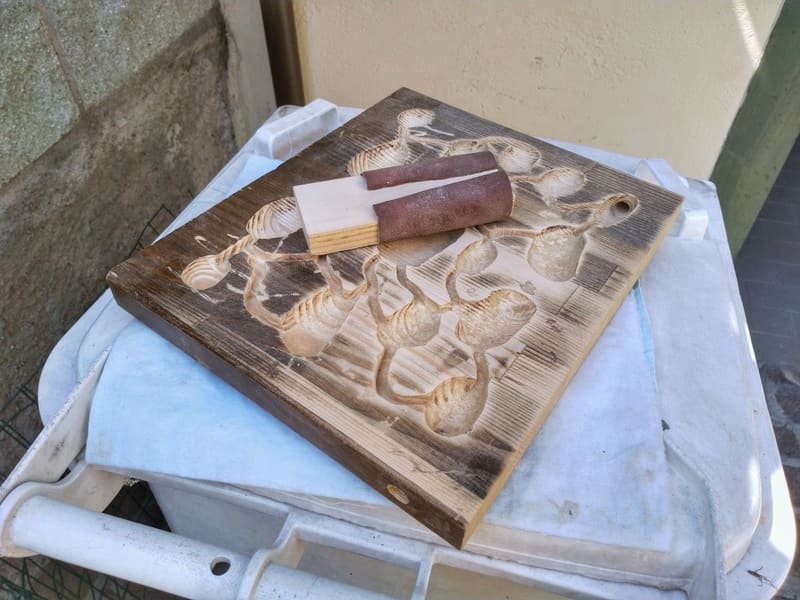
If you want, you can also sand the inside part of the chambers and the passages, in order to create a more smooth and more rounded surface.
The Acrylic Front Panel
Now we have to make the acrylic front panel. This transparent panel will enable us to easily see the ants inside the nest, without the risk of having any escapees.
After we’ve taken the needed measurement, we can then start cutting the piece. For this panel I am using plexiglass, a very easy-to-find type of transparent plastic.

For cutting the plexiglass you can use a normal saw for metals or a jigsaw. You can choose which one you prefer the most.
Here’s the panel.
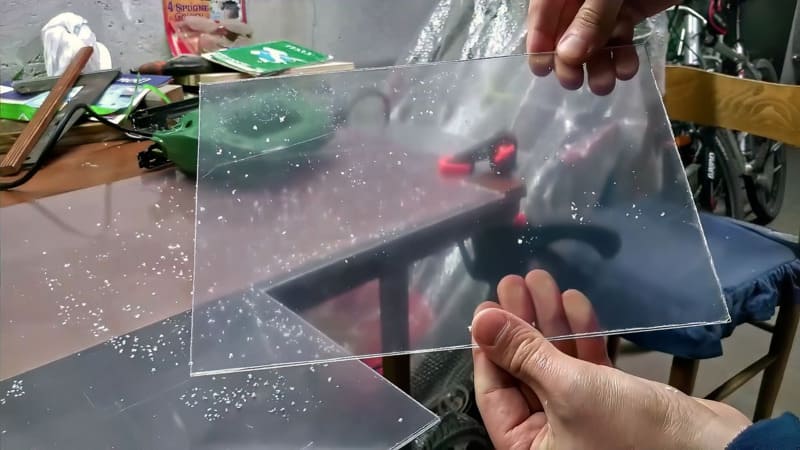
Just like the wooden panel, we can remove the little imperfections by using some sandpaper.
To attach the plexiglass panel to the nest we can use some screws made for wood. By using the screws as the fixing mechanism, we will be able to easily remove the panel for cleaning the nest.
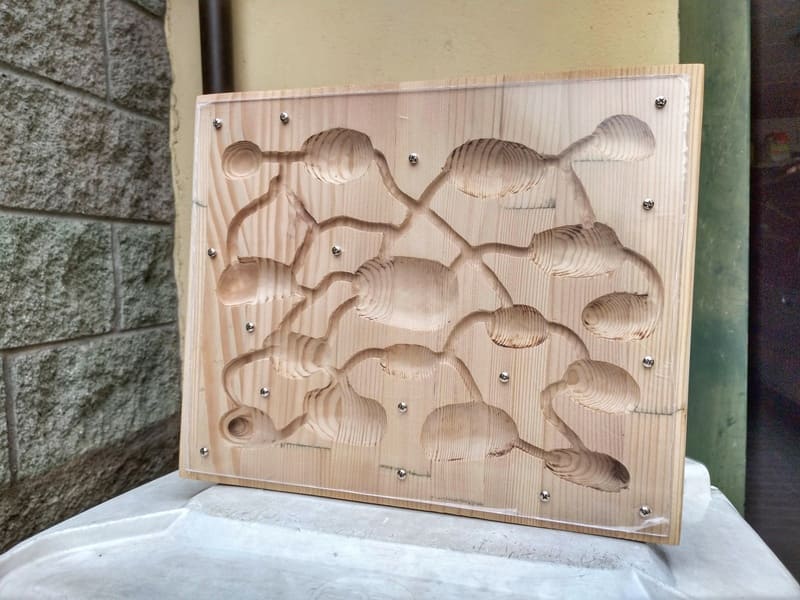
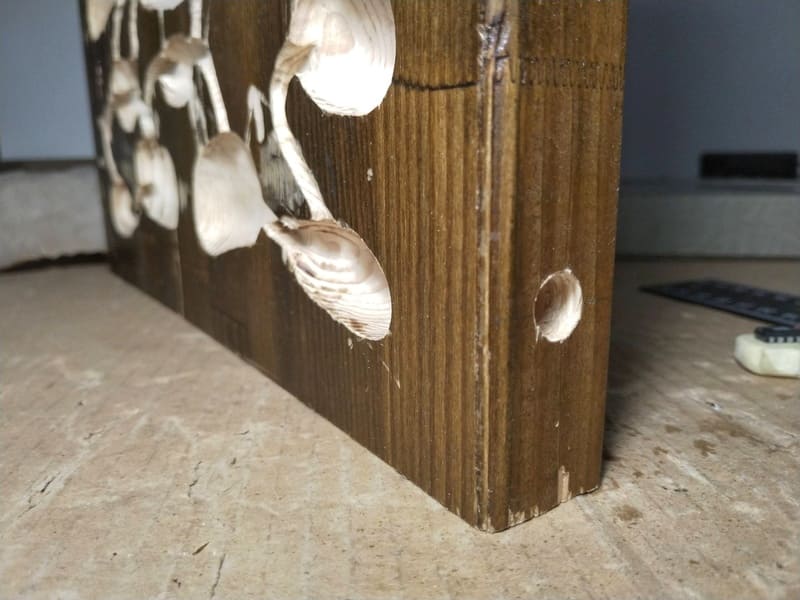
Drilling The Holes
Now we have to drill the holes in the plexiglass panel and in the nest. You easily do this by using a normal drill with a bit made for wood.
Keep in mind that the holes in the plexiglass panel should be slightly smaller than the ones on the nest. That’s because the screws that are going to keep together the two parts have to grip only on the wooden panel.
If you haven’t done it yet, during this phase you can also drill the entrance hole, from which the ants will travel in and out of the nest.
Making The Base
Now we can start making the base of the nest, the part that will allow the wooden panel to remain in a vertical position. As usual, the first thing we have to do is to take all the needed measurements.
Once we have the marks on the wood, we can start cutting. As you can see, I’m using a circular saw to cut the pieces. Alternatively, If you don’t have one of these, you can simply use a jigsaw.
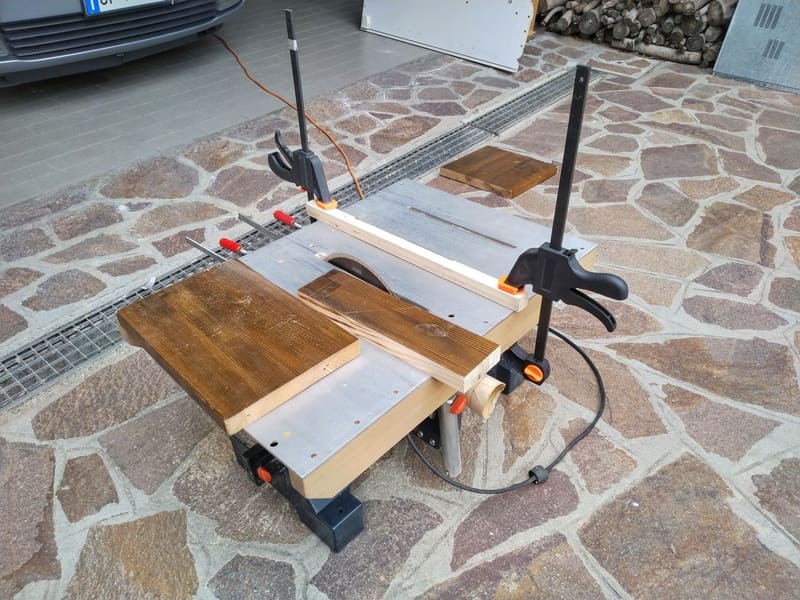
When we have the piece, we can then clean it with some sandpaper, just like before.
Here’s the result!
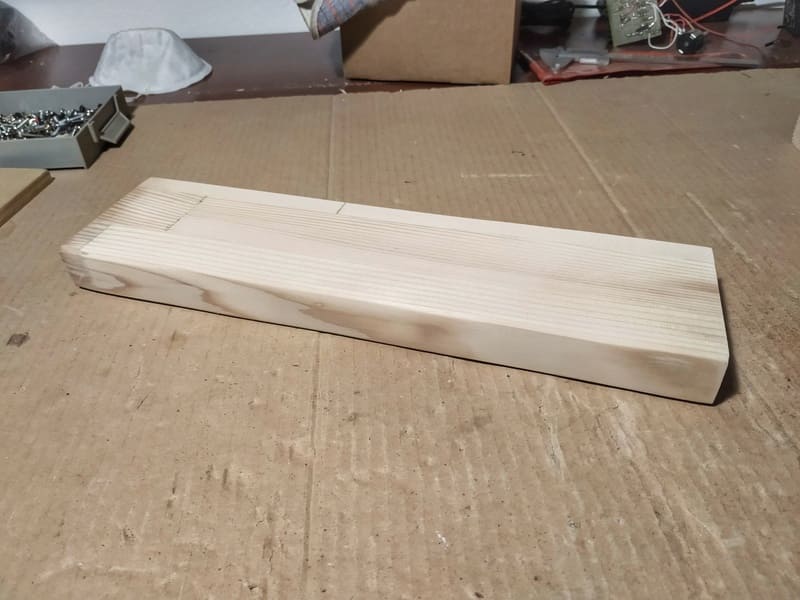
Now It’s finally time to join together the two parts: the base and the nest. To do so, make two holes in the base and two holes in the nest. When the holes are ready, attach the nest to the base using two screws for wood.
The End Result!
Congratulations! You’ve just made a wooden ant nest all by yourself!

Now our little nest is finally ready to house an ant colony! I’m pretty sure they will love their new fantastic wooden home!
If you are a beginner and have no idea how to get your hands on an ant colony, I would suggest you check out this other guide! In this one you will learn everything you need to know to catch your very first queen ant, the mother of all members of the colony!
I hope you have found this guide helpful!
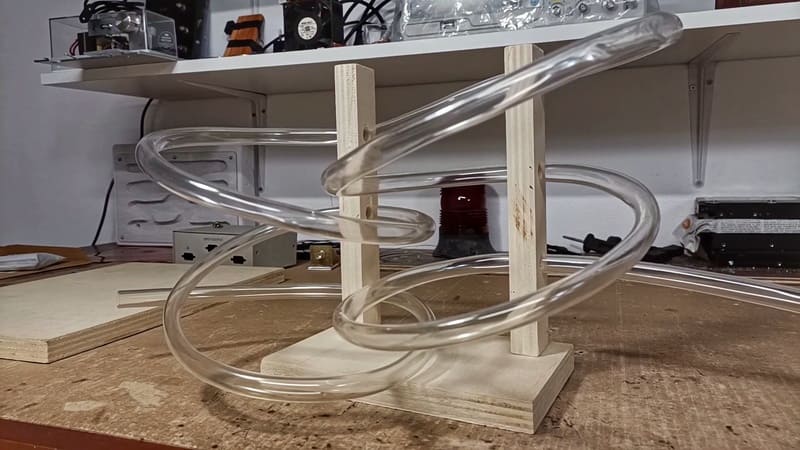
If you liked this tutorial and you love making DIY projects, I would strongly suggest you check out this other tutorial! In this one, you will learn how to build a very cool tube spiral for connecting your ant nest to an outworld!

Real-world impact!
Thanks to the BRUMA Ants Plus subscribers and our partner Ecologi we are planting lots of trees all around the world! Click on the Ecologi logo to see the real-world impact of this amazing community!
Join our Discord!