Hi guys! I hope you’re doing well!
Today we’re going to learn how to make a so-called tubs and tubes setup, a very effective and cheap way to manage a medium to large-sized ant colony!
Let’s get into it!
Introduction
So you have successfully grown an amazing and healthy ant colony inside a test tube setup, and every day that passes It becomes harder and harder to feed the ants without having any escapees?
If the answer is yes, you’ve found the right guide!
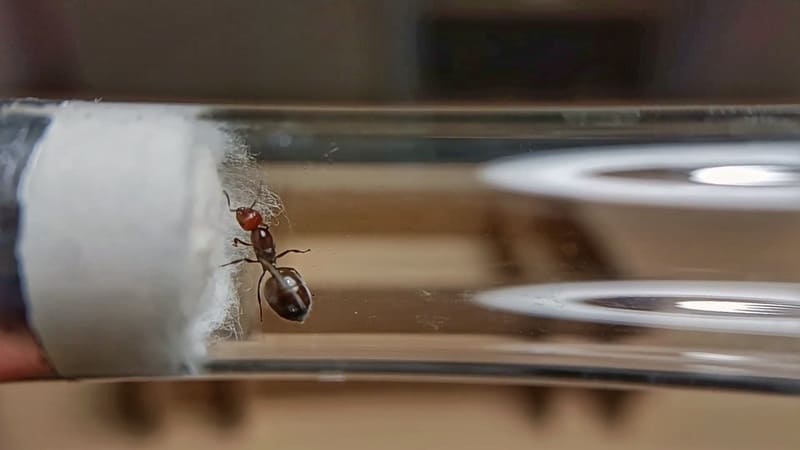
At a certain point in the life of a colony, feeding the ants directly from the test tube starts to become an extremely hard task! Especially if the colony has just started to grow at an exponential rate!
I know the struggle! You’ve not even finished removing the cotton ball that seals the test tube, and there are already a dozen ants wandering around your desk! That’s pretty frustrating!
When the test tube is almost completely filled with ants, It’s time to upgrade their setup to a more handy one! To solve this problem, the so-called tubs and tubes setup comes to our rescue!
The tubs and tubes setup is nothing more than a very simple way of creating an environment that includes a starter nest and an outworld, making it a lot easier to feed and manage your beloved ant colonies!
Another very cool way to better manage your ant colonies is a test tube holder! With this extremely clever system, you can also better organize your ant colonies, dividing them by species, number of workers, or maybe climate requirements!
Now let’s talk about the tubs and tubes setup! The name of this particular type of setup comes from its two main components: the tub and the tube.
The tubs are flat-bottomed containers, usually used to store and organize things. The term tubes, instead, refers to the test tube setup, the most popular way to start an ant colony from a single queen.
Using this upgraded setup will make the feeding and cleaning process ten times easier, given that now we have the help of an outworld!
What You Need
The Test Tube Setup
To make a tubs and tubes setup we don’t need a lot of things.
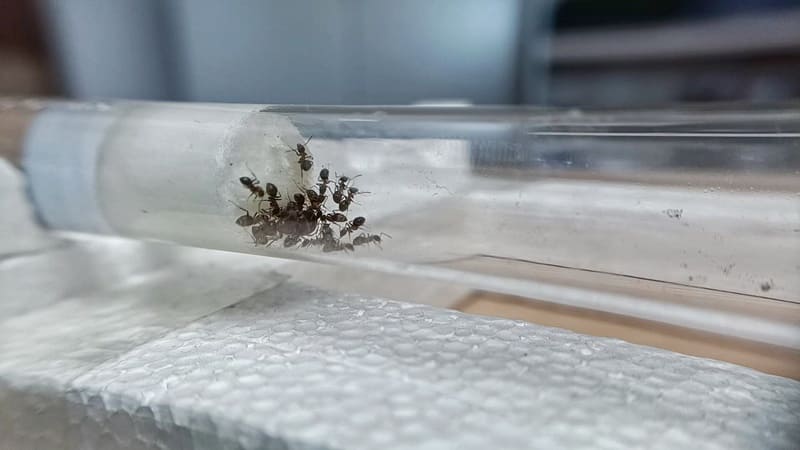
First of all, we need the test tube setup. This will be the actual nest, in which the ants will live. If you already have a colony inside this type of setup, you don’t have to worry about this step.
On the other hand, if you are a beginner ant keeper and don’t quite know what a test tube setup is and how to make one, I would suggest you check out this other guide! In this one, I explain in detail everything you need to know to make the perfect test tube setup!
You can easily find the test tubes on one of the many online shops dedicated to ant keeping.
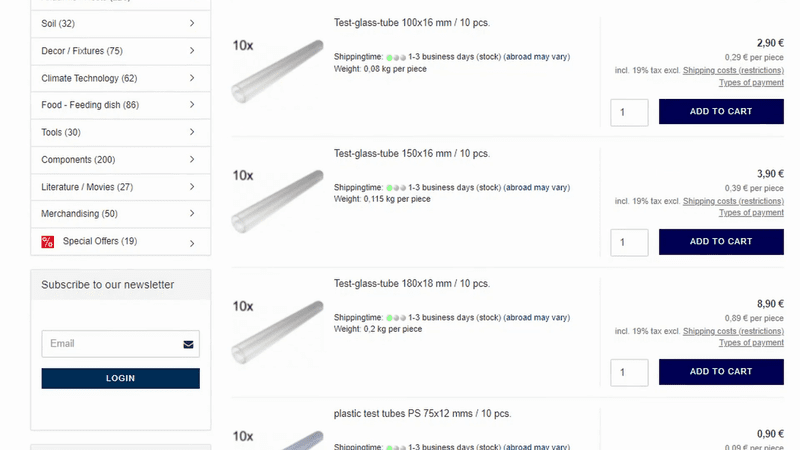
These products are usually pretty cheap, with prices that range from 10 cents for the smaller ones, to up to $2 for the largest and pre-prepared ones.
I would suggest you choose one of the basic ones, like the ones that usually cost around 40 or 50 cents.
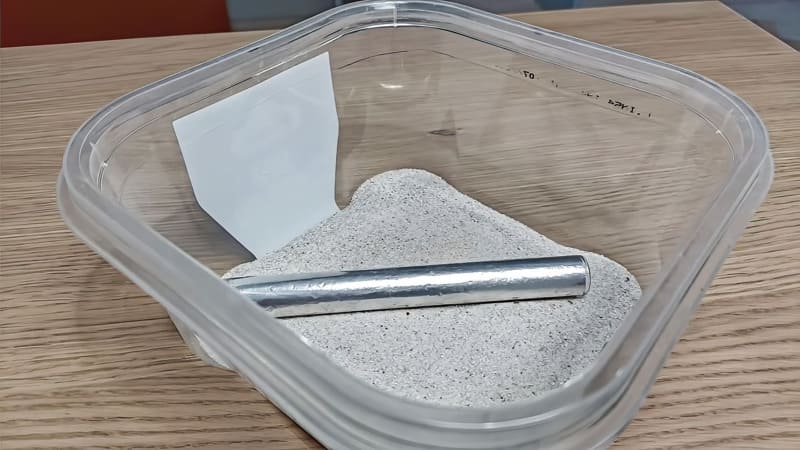
The Tub
The second thing that we need in order to make a tubs and tubes setup is, as you can imagine, the tub. The tub will serve as the outworld section of the setup, the area in which the ants will find all the nutrients that they need to survive.

As the tub, you can basically use every type of open plastic container. You can easily find these types of plastic containers in every hardware or grocery store. For this project, I’ve chosen to use this plastic ice cream container, which serves the role perfectly.
The Escape Prevention Oil
In addition to the tub and the test tube, we are also going to need some escape prevention oil. This particular type of oil will serve as a physical barrier for the colony, blocking the ants from trying to escape out of the container.
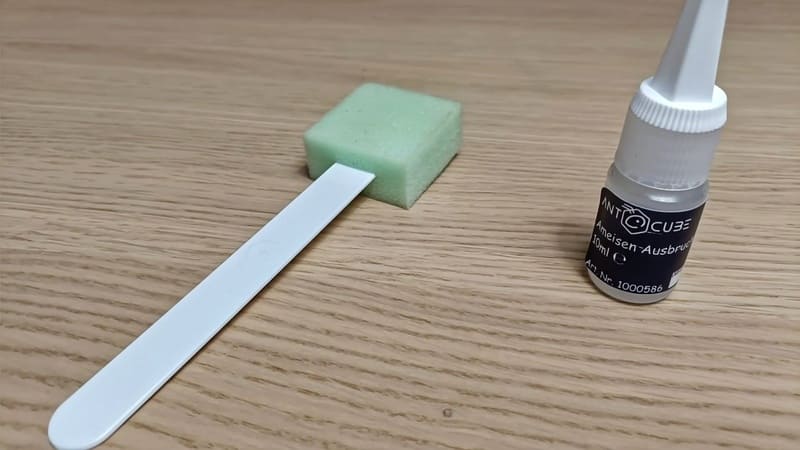
Just like the test tube, you can easily find the escape prevention oil on one of the many online shops dedicated to ant keeping.
Preparing The Setup
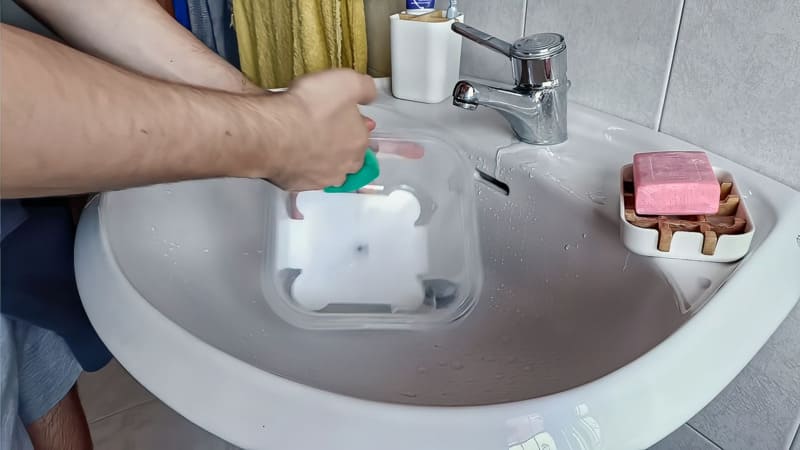
Now that we have everything we need, It’s time to start preparing the setup!
The first thing we have to do is thoroughly clean the plastic container. Doing this will remove any residues of dirt and harmful bacteria, very crucial if we want a clean and sterilized environment.
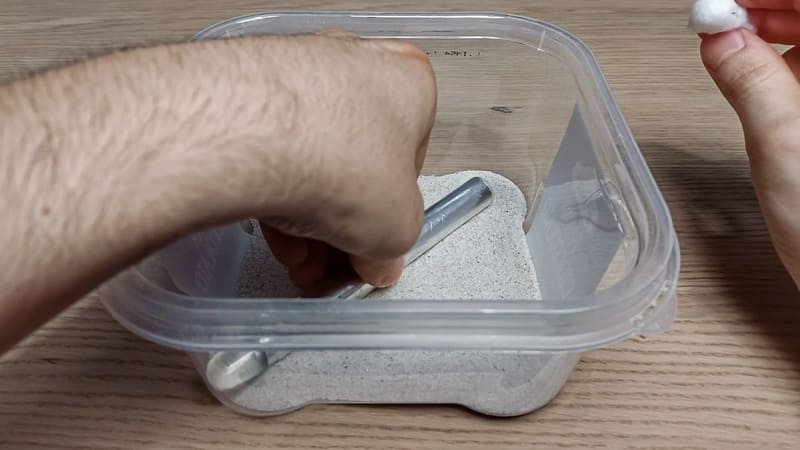
If you want, you can create a dirt or sand substrate, just to make the outworld a little more aesthetically pleasing.
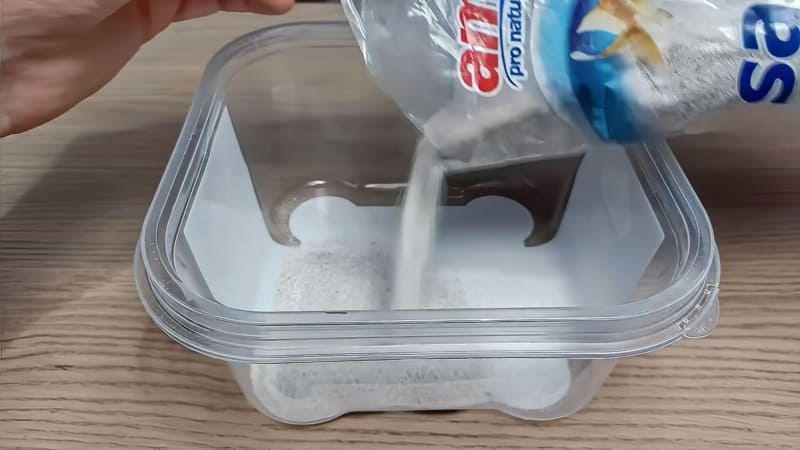
As you can see, I’ve decided to use some sterilized white sand, the one usually used in fish tanks. If you wanna add some other decorations, remember to wash everything you place inside the container!
If you like the idea behind the tubs and tubes setup, and you are wondering if you can buy one instead of making one… well, I have good news for you! In this article, I make a detailed review of a nest made by WaKooshi that tries to replicate the design of a tubs and tubes setup!
Now It’s time to apply the escape prevention oil!
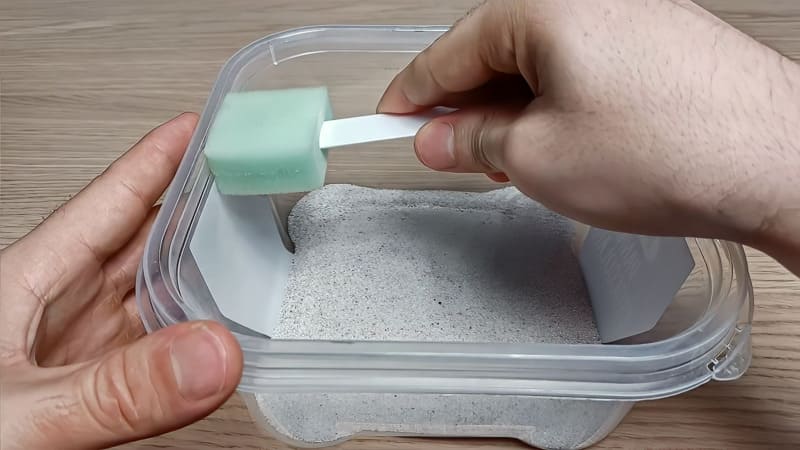
To apply the oil, you can simply use a sponge or a normal paintbrush. During this phase, make sure not to leave any gaps between the strokes! If there are any, you can be sure that the ants will find them!
Now that the outworld is ready, we can finally place our test tube into it!
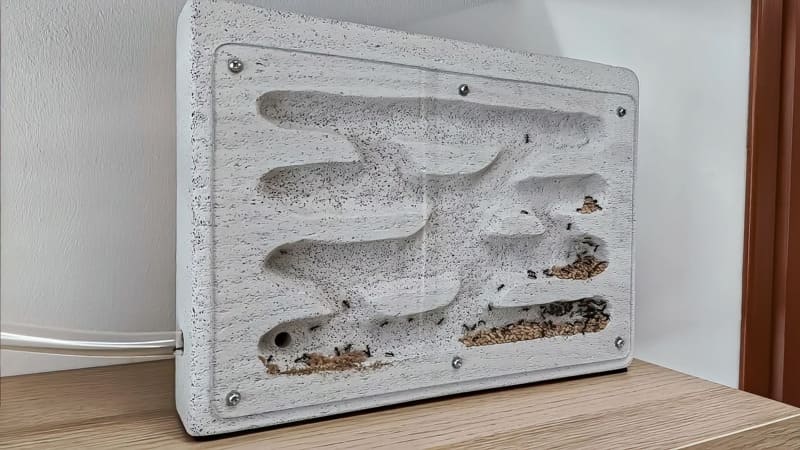
Congratulation! You’ve successfully created a tubs and tubes setup! It looks really cool, don’t you think?
Now you can feed your ants without the risk of causing an ant invasion!

Real-world impact!
Thanks to the BRUMA Ants Plus subscribers and our partner Ecologi we are planting lots of trees all around the world! Click on the Ecologi logo to see the real-world impact of this amazing community!
Join our Discord!